


WIGS
Mastering Gorgeous Wig Hairstyles at Home: A Step-by-Step Guide
BY JOJO
If you love the versatility of wearing wigs, you know how transformative different hairstyles can be. But recreating those coveted wig looks at home can sometimes feel daunting. From using the right products and tools to nailing down proper techniques, there's a bit of a learning curve when it comes to wig styling.
Don't worry, you've got this! With some expert tips and step-by-step guidance, you'll be achieving stunning wig hairstyles right in the comfort of your own home. In this comprehensive guide, we'll walk through 5 must-try, on-trend wig styles that are perfect for everything from special occasions to an everyday glam look. Get ready to master these stunning styles!
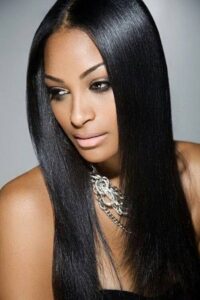
1. Sleek & Straight Perfection
This chic, polished wig style is a classic that works for any setting or occasion. It’s all about achieving a smooth, ultra-sleek look from roots to ends.
What You’ll Need:
– Wig with straight or straightened hair
– Wig brush or wide-tooth comb
– Wig hairspray or smoothing serum
– High-quality flatiron or straightening iron
Step-by-Step:
a) Start with a clean, detangled wig that has been properly prepped and mounted on a wig head or stand.
b) Apply a wig-safe hairspray or smoothing serum from mid-lengths to ends to reduce frizz and add shine. Avoid applying too much product at the roots to prevent weighing the hair down.
c) Section off the hair into manageable portions, starting from the bottom layers. Using a flatiron set to a lower heat setting (around 300°F for synthetic fiber wigs, up to 400°F for human hair wigs), gradually straighten one-inch sections by slowly pulling the iron from roots to ends.
d) Work your way up the head in sections, straightening all of the hair thoroughly. For a sleek crown, use a fine-tooth comb to create a straight part down the center or side.
e) Once all hair is straight, take the flatiron and gently glide it over the top portion from front to back to set the cuticle and create a glassy finish.
f) Complete the look by applying a light, smoothing wig hairspray all over for added hold and shine.
Pro Tips: Invest in a high-quality flatiron or straightening iron with ceramic plates to prevent damage and evenly straighten wig hair. Allow straightened hair to fully cool before styling to “set” the look.
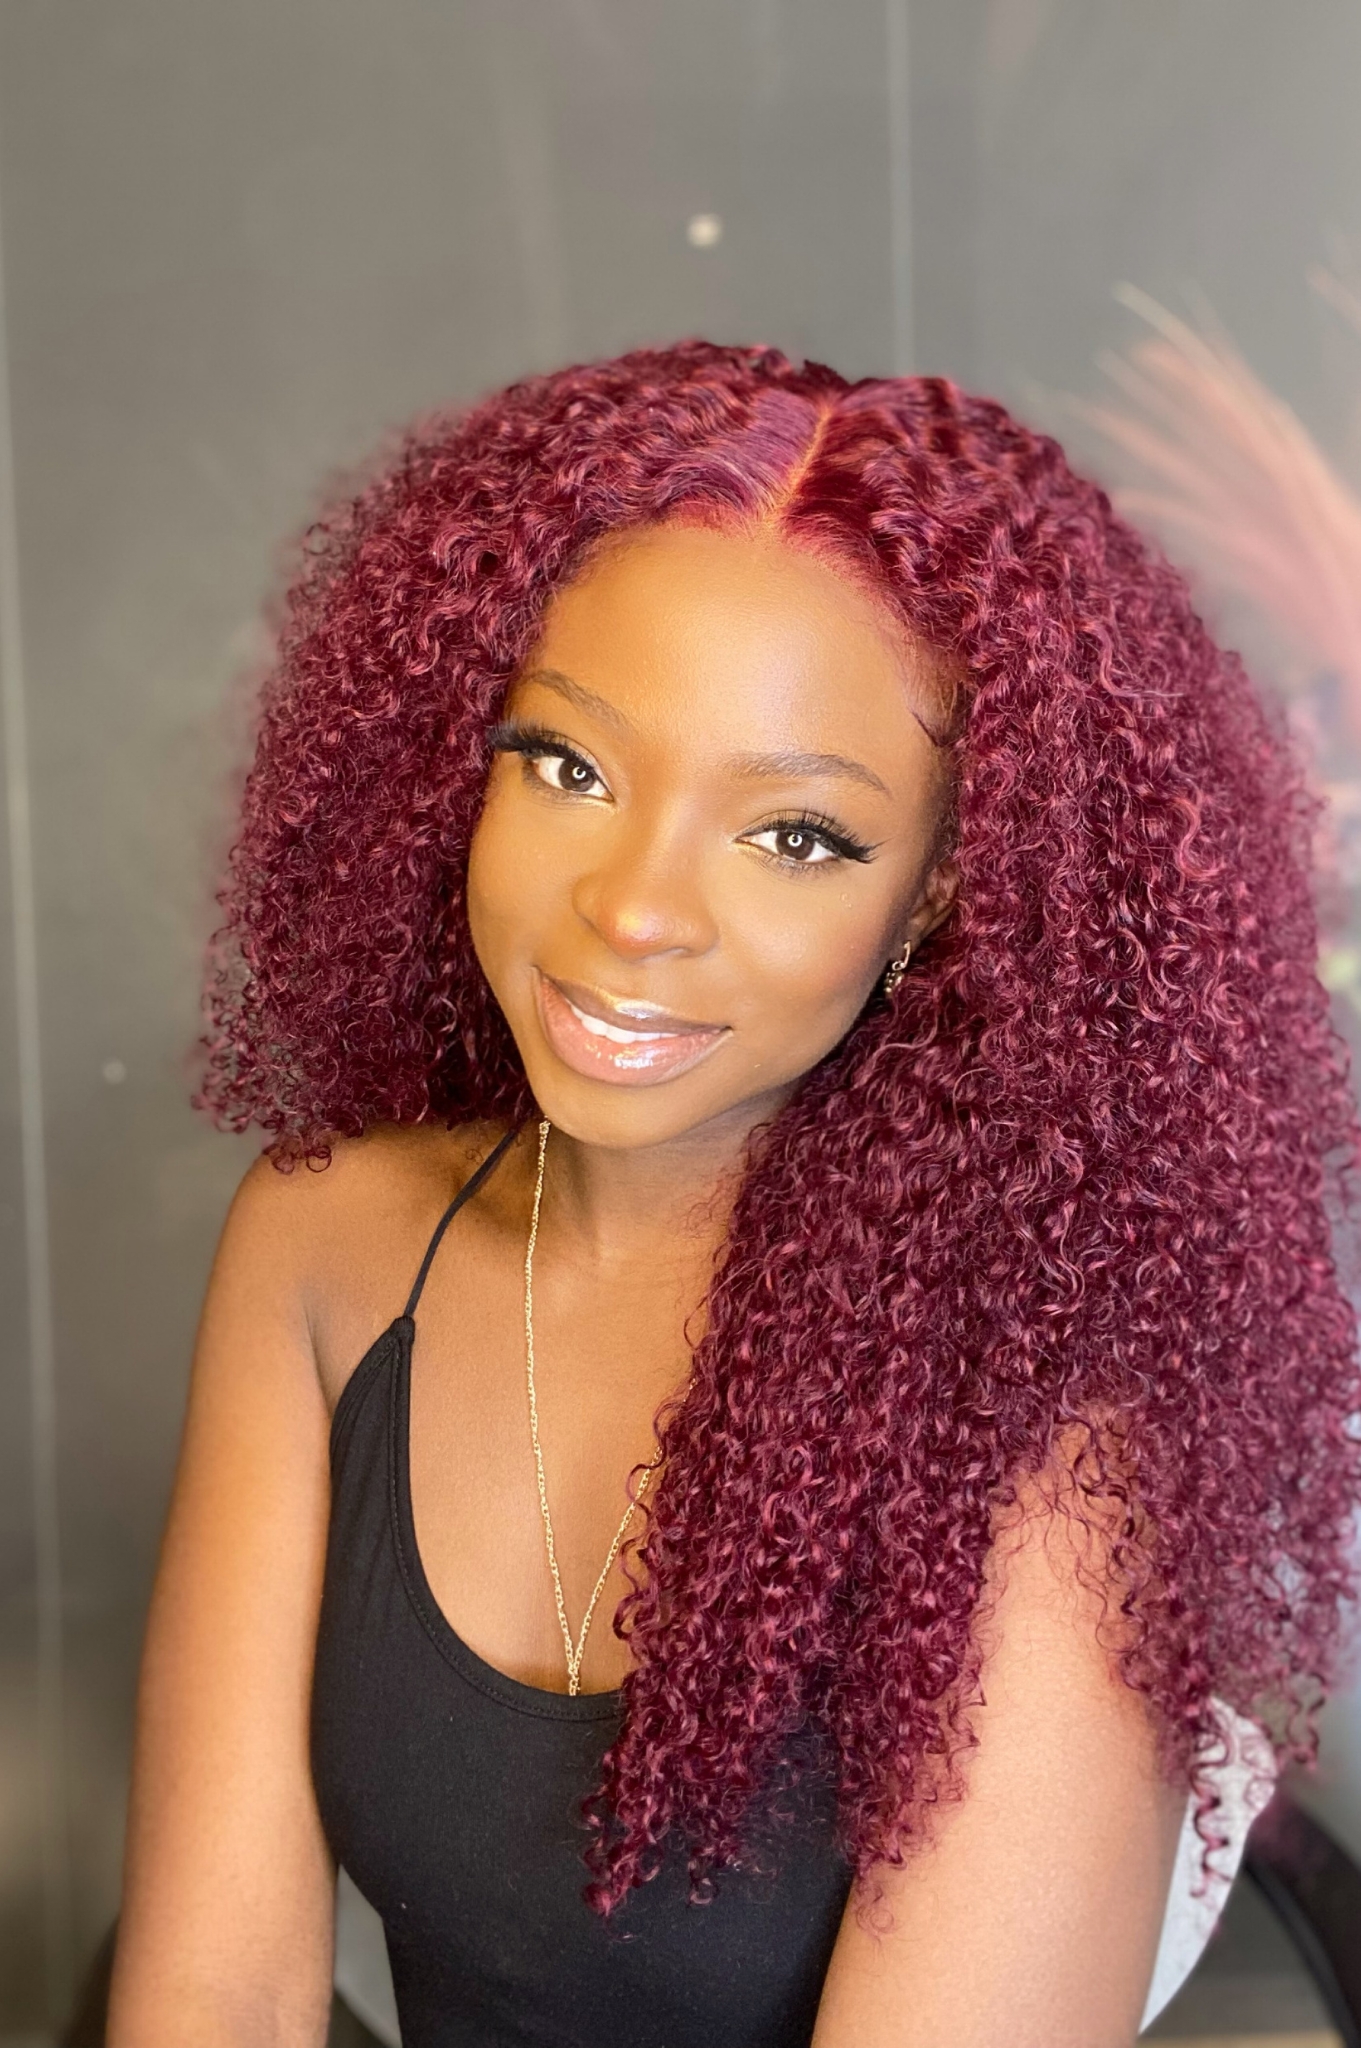
2. Cascading Bombshell Curls
Face-framing, cascading curls create an undone yet ultra-glamorous wig style that’s perfect for any elegant occasion or event. Achieve this coveted look by following these steps:
What You’ll Need:
– Human hair or high-heat-resistant synthetic wig
– Wig hairspray or heat protectant
– Barrel or wand curling iron (1-inch or larger barrel)
– Wig clips or sectioning clips
– Wide-tooth comb
Step-by-Step:
a) Start with a clean, detangled wig mounted securely on a wig head. Lightly mist all over with a heat protectant spray or wig hairspray to reduce damage and control frizz.
b) Section the hair off into manageable portions, starting with the back lower layers and working upwards towards the crown area in a horseshoe pattern.
c) Using a large-barrel curling iron (1 to 1.25 inches), wrap 1-inch sections of hair around the iron barrel. Be sure to keep the curl sections angling away from the face for a cascading effect.
d) Hold each section tightly wrapped around the barrel for 10-15 seconds depending on the wig hair type. Release and allow curls to cool before moving to the next section.
e) For added definition, lightly mist curls with a flexible hold hairspray and gently rake through with fingers when fully cooled.
Pro Tips: For a more undone, natural curl look, alternate the direction of your curls by wrapping some sections forwards and some backwards as you move through each layer of hair. Consider anchoring the curl pattern with a few flat waved sections around the face.
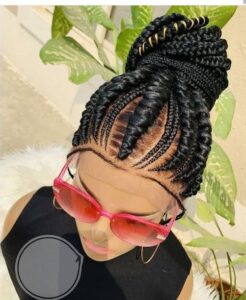
3. Elegant Braided Updo
Who says braids aren’t meant for wigs? This elegant updo incorporating braids is the perfect blend of sophistication and edgy charm. Rock this on-trend style by following these steps:
What You’ll Need:
– Wig with medium to long length hair
– Rat-tail comb
– Bobby pins or U-pins
– Hairspray or styling cream
– Optional: Hair accessory like jeweled pins or headband
Step-by-Step:
a) Begin by creating a deep side or middle part in the wig hair using the end of a rat-tail comb.
b) Take a small 1-2 inch section from the front hairline on either the left or right side. Apply a styling cream or wig hairspray to provide grip and hold.
c) Starting from the hairline, create a tight Dutch braid along the base of the part line. As you move towards the back, use your fingers to gently pick up and incorporate more hair into the braid as you go.
d) Once you reach just past the ear area, stop incorporating new hair and continue braiding towards the center of the back of the head. Secure the end with an elastic or bobby pin.
e) Gently backcomb the upper crown area of the remaining hair using a comb or brush to create volume and gentle texture. Then loosely gather the hair into a messy bun, tucking ends beneath and securing with pins.
f) Lightly pull apart face-framing pieces around the braided section for a tousled, romantic vibe. Complete the look by securing any loose strands and spraying all over with a flexible wig hairspray.
g) Add accessories like jeweled pins or a sparkly headband to amp up the glam factor!
Pro Tips: Get creative with different braided styles! For a boho flair, try incorporating a loose French braid. For a more sleek updo, create tight cornrow braids wrapped into a neat bun at the nape of the neck.
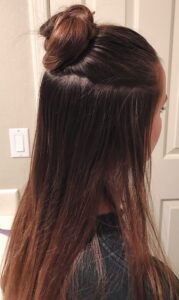
4. Half-Up Knotted Top Knot
This casual-cool, half-up wig style is perfect for an effortless yet chic daytime look. With a few easy techniques, you can rock the trendy top knot hairdo! Here’s how:
What You’ll Need:
– Wig with longer hair
– Texturizing or volumizing hairspray
– Comb or brush
– Hair elastics or scrunchies
Step-by-Step:
a) Start by parting the hair where desired – either a middle or off-center part will work best for this look.
b) Liberally spritz or apply a volumizing product or lightweight wig hairspray to the top half of the wig hair from the part to the crown area. Using a comb or brush, gently backcomb this top section to create lift and gentle volume.
c) On the remainder of the bottom hair, create flowy waves or curls either with a curling iron or wand, or by braiding and setting the hair overnight.
d) Gather all the teased and volumized top hair together into a messy, loose bun or knot right at the crown. Secure with a hair elastic or scrunchie.
e) Gently tug and stretch the bun or knot to create a larger, more tousled shape. Allow shorter face-framing pieces to fall free around the hairline and ears.
f) Finish with an all-over light misting of a flexible hold hairspray to lock in the style.
Pro Tips: For a slicked-back vibe, use a boar bristle brush to smooth hair into a tight knot at the crown and tame flyaways around the face with pomade or serum. Add accessories like claw clips or scarves to amp up the look.
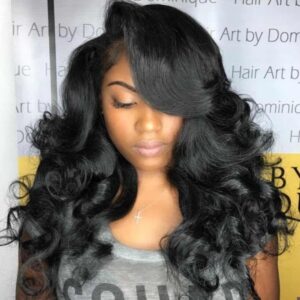
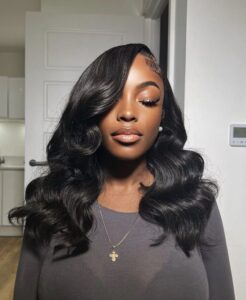
5. Face-Framing Side Swept Waves
Want an effortlessly chic wig style that flatters any face shape? Look no further than glamorous side-swept waves! This sultry yet low-key look can be achieved by following just a few simple steps:
What You’ll Need:
– Wig with longer hair
– Volumizing or texturizing product
– Flat or straightening iron
– Rat-tail comb
Step-by-Step:
a) Begin by parting the hair deeply on one side using the pointed end of a rat-tail comb. The deeper side will create volume while the shorter side frames the face.
b) On the deeper side, liberally apply a volumizing mousse, spray or thickening tonic from the roots to the mid-lengths. Skip applying product on the shorter side.
c) Blow dry the deeper side only using a round brush, directing hair over and away from the face to create amplified volume and lift.
d) Allow the deeper side to cool, then lightly set waves or curls using a straightening or flat iron starting from the mid-lengths to ends. Bend the wefts in alternating wave patterns away from the face.
e) On the shorter side, create tousled bends using the straightening iron by gently turning the wefts inwards towards the face every 4-5 inches. This creates cascading face-framing waves.
f) Complete the look by applying a light-hold wig hairspray and finger styling any flyaways or pieces around the face.
Pro Tips: For a sleeker take on the look, use a smoothing cream or serum instead of a texturizing product and create straighter, more uniform wave patterns on both sides. Part hair towards the more angled side desired.
With these pro-styling tips and tricks in your toolkit, you'll be able to craft gorgeous, envy-worthy wig hairstyles right at home! It just takes practice, patience and having the right wig-safe tools on hand. Don't be afraid to experiment and get creative in finding styles that suit your vibe. Stay tuned for even more wig styling guides and tutorials coming soon!
